


PRODUCT CATEGORY


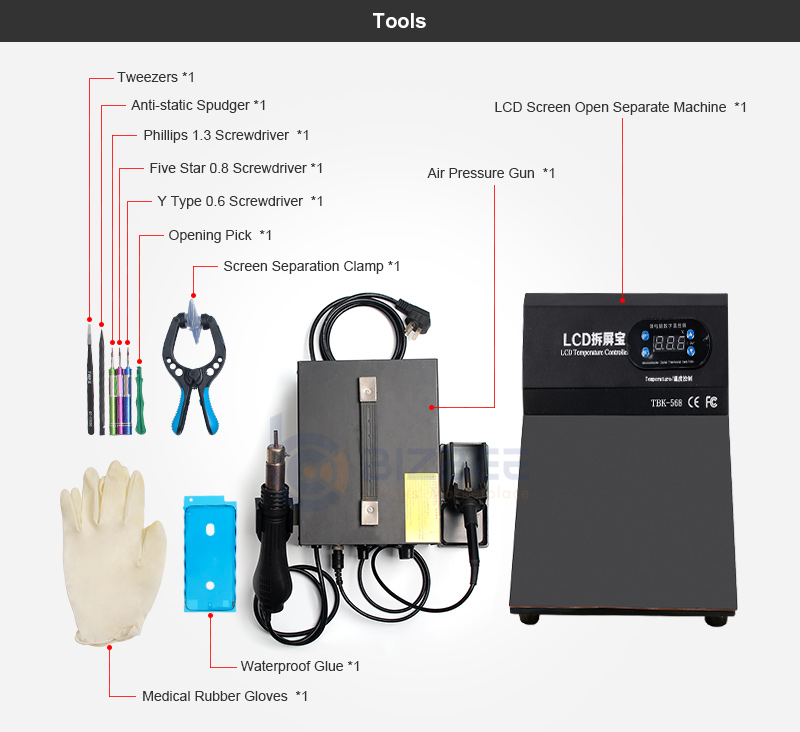
Step One: Replacement Techniques and Safety Instructions
Unscrew the two screws on the tail connector. Use the LCD screen open separate machine to heat the edge of the screen to 75°C. Use the screen separation clamp to separate the screen and the housing. Do not use iron sheet or metal opening pick to separate the screen to avoid scratches of the housing.

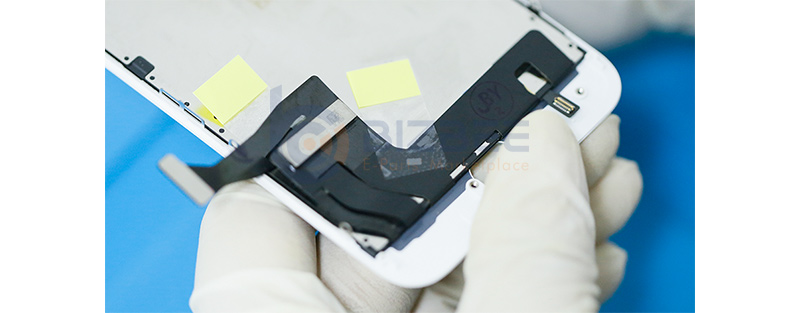
Step Two: Small Camera Disassembly
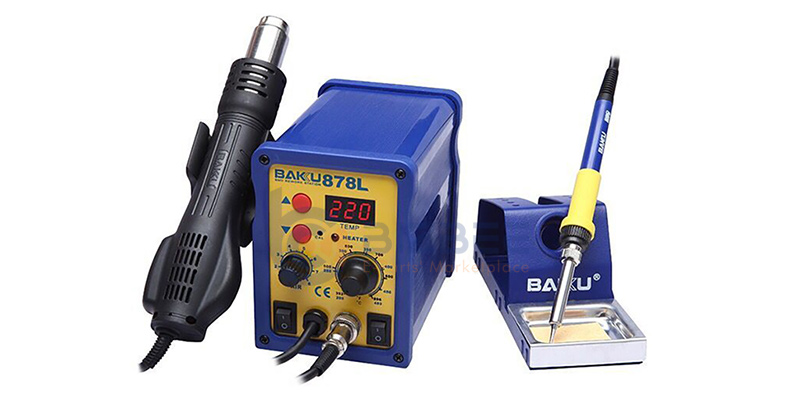
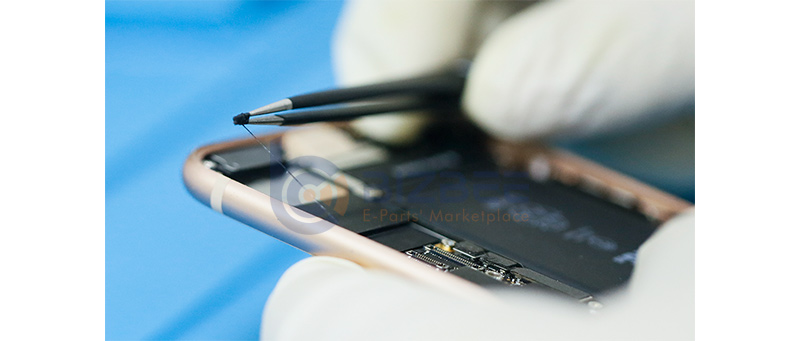
Disassemble the flex cable of the small camera. Use the tweezer to remove the distance sensor and light sensor. Heat the flex cable connector to 75°C with the air pressure gun.
① Do not heat the backlight. Use the tweezer to remove the earpiece speaker flex cable and the earpiece speaker mesh.
② Gently disconnect the speaker flex cable to avoid malfunction of the earpiece speaker.
③ Do not break the flex cable to avoid malfunction of the true tone display, light sensor and distance sensor.
If you need to restore True Tone display, touch failure, etc., please purchase the following product: Photosensitive repair instrument.
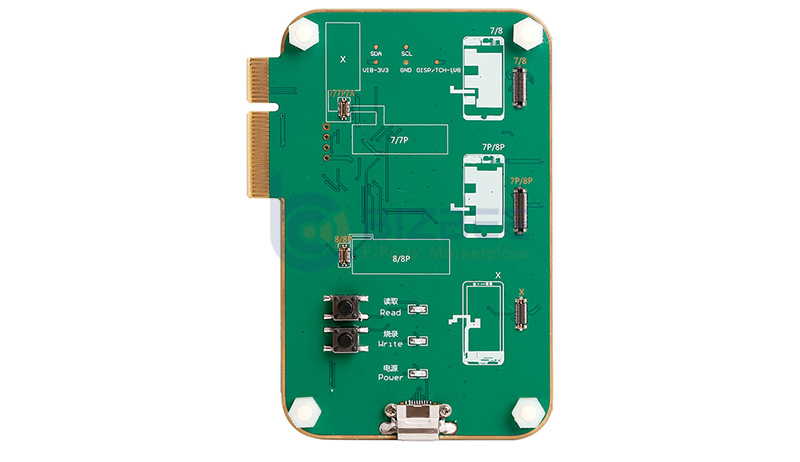
Photosensitive Repair Instrument
Step Three: HOME Button Disassembly
Before disassembling the home button, heat the home button flex cable using the air pressure gun. Then disassemble the home button using the tweezer. Do not touch the flex cable.
Tips: If the screen and the rear housing have been cracked, do not contact the touchscreen either.
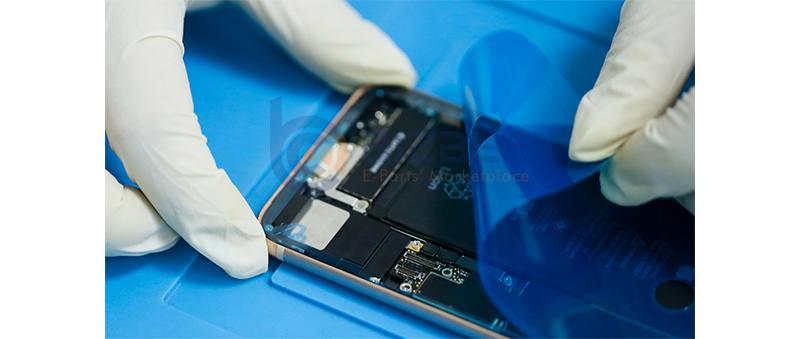
Step Four: Remove the Waterproof Glue
Clean the adhesive glue remaining on the phone frame using the tweezers in counter-clockwise rotation.
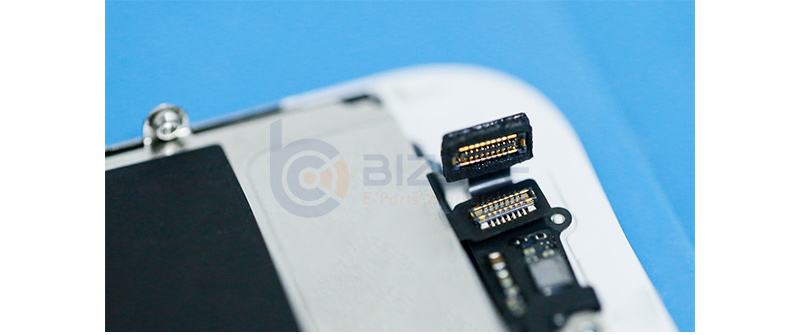
Step Five: Attach the Flex Cable
• Attach the flex cable to the backlight using stick tape, which will not affect the backlight if you touch the IC.
• Precisely affix the stick tap for the flex cable. Ensure the touch IC on the screen aligns to that on the motherboard to avoid backlight leaking through the top right corner of HOME button.
Step Six: Sticking the Waterproof Glue
The waterproof glue has three layers of protective glue. First remove the large one from the left to the top, and stick the waterproof glue around the casing and press it tightly. Pay attention to the position alignment before the paste. Remove the second layer of protection and tighten with a pry bar. After installing the screen and the seat, remove the third protective film.
Step Seven: HOME Button Assembly
• When assembling the home button, pay attention to the length of the unfolding flex cable first. If it is relatively long, attach the home button to the screen rack and buckle up the stand. If it is relatively short, buckle up the stand first and then attach the home button to the screen rack. Thus, the phone will run smoothly on start-up, without stuck on iPhone logo.
• Do not over tighten the screws of the metal sheet on the backlight. Since the 8-series metal sheet is very thin, if it is over tightened, it might be out of shape and contact with the backlight, which ultimately resulting in display abnormal.
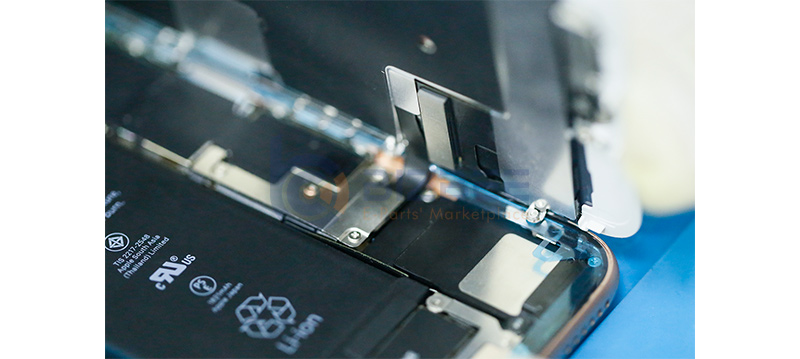
Step Eighth: Installed
• Ensure the touch IC has been placed on the touch IC slot of the motherboard. Connector fixed iron piece.Move the metal sheet up before fixing it with screws. Do not over tighten the screw to avoid rippled patterns on the screen.
• Push the display and 3D touch flex cables down to the machine plate to avoid being folded or pressed. If the flex cables have been folded or pressed, the touch function might not work.
Summary
In general, you might need to replace the screen for your iPhone 8 due to:
1. Outer tempered glass cracked. However, the screen display functions well without problems of image and true tone display, or vertical pixel columns or black squares on the screen.
Solution: Replace with a new outer screen. Separate the cracked outer screen using the right tool. Then use the optical glue,remove the air bubbles, align the outer screen with the inner screen and press fit with the inner screen.
2. Inner LCD screen cracked. Plus with image display abnormal and touch loss.
Solution: Replace with an entire new screen.
Visit www.bizbee.com for more information of repair tools and phone screens.


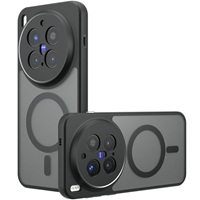
 iPhone Cases
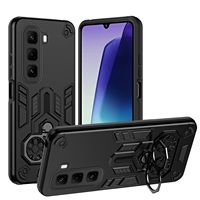
 Samsung Phone Cases
 Xiaomi Phone Cases
 OPPO Phone Cases
 VIVO Phone Cases
 Transsion Infinity Phone Cases
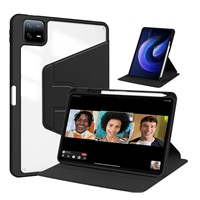
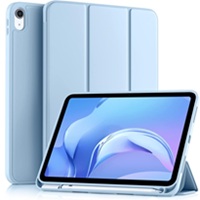 iPad Cases & Covers
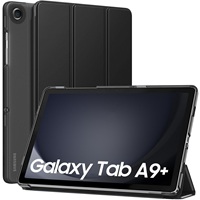 Galaxy Tab Cases & Covers
 Matepad Cases & Covers
 Mipad Cases & Covers
 Lenovo Tab Cases & Covers
 Honor Tablets Cases & Covers
 AirPods Cases
 Laptop Bags & Cases
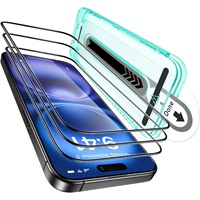 iPhone Screen Protectors
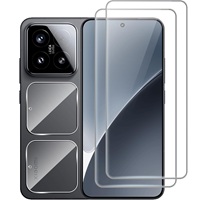
 Samsung Screen Protectors
 Xiaomi Screen Protectors
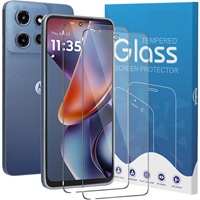
 OPPO Screen Protectors
 VIVO Screen Protectors
 Other Screen Protectors
 iPad Screen Protectors
 Galaxy Tab Screen Protectors
 Matepad Screen Protectors
 Mipad Screen Protectors
 Lenovo Tab Screen Protectors
 Other Tabets Screen Protectors
 Macbook Screen Protectors
 Other Laptops Screen Protectors
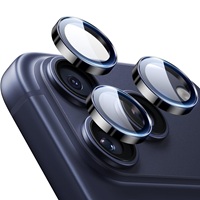 Lens Protectors
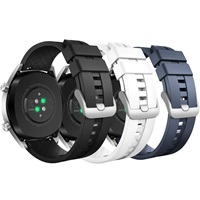
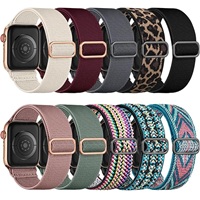 Apple Watch Bands
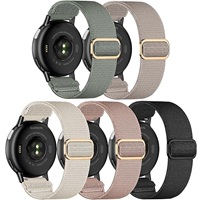
 Samsung Galaxy Watch Bands
 Mi Watch Bands
 Garmin Bands
 Amazfit Bands
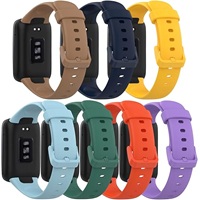
 Fitbit Bands
 Huawei Watch Bands
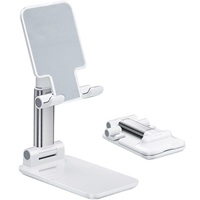 Desktop Phone Stands
 Car Phone Holders
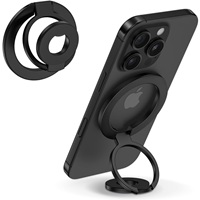 Phone Rings Kickstands


