
There is an iPhone 12 Pro that burned out due to charging. Whether the phone is charging now or press the power button, there is no response. It is possible that because the unstable voltage of the charger burned out the motherboard. It may cause the breakdown of the motherboard layer, even the CPU may burn out if serious. So what is wrong with this motherboard?
Video Overview:
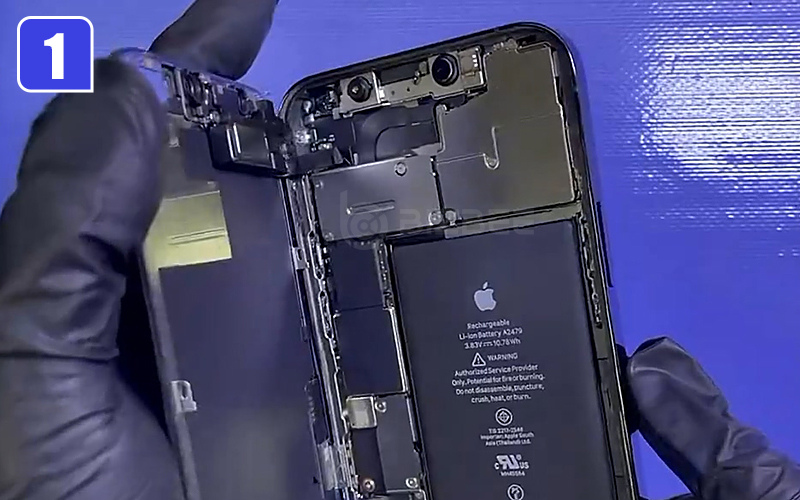
Step 1: Open the screen of the phone
It can be seen that the inside of the phone has not been dismantled and repaired and no sign of water ingress, so it can’t turn on because of charging. In this case, the chance of screen damage is almost impossible. The problem should still be on the motherboard.
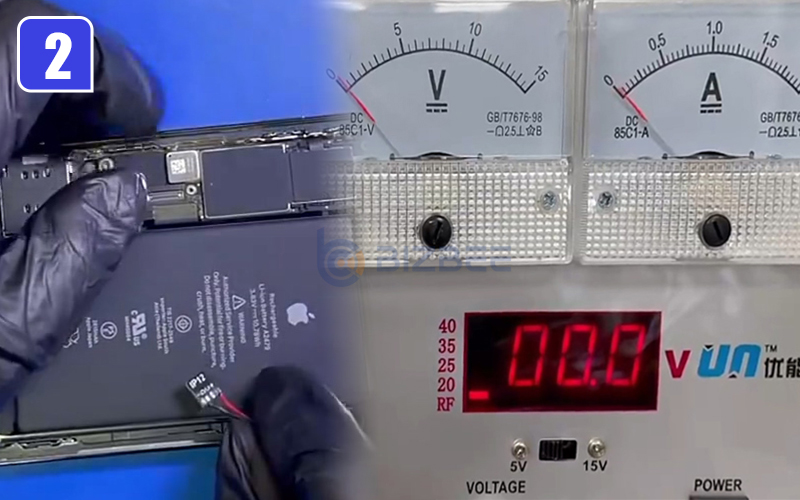
Step 2: Power up the motherboard
Let’s find out what current causes the motherboard not to turn on. As predicted, it’s a short circuit current, which indicates that the motherboard has shorted. This means that the motherboard layer or the chip must be burned out.
Step 3: Remove and layer the motherboard
Viewed from the surface of this motherboard, no burn marks were found. Because this motherboard is a double-layer design, many chips are concentrated in it. So we need to layer this motherboard down and look for damaged components.
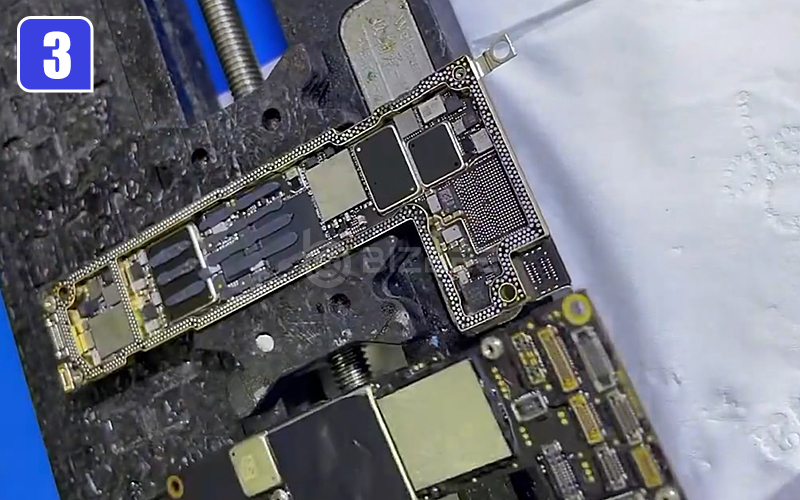
Step 4: Power up the single upper motherboard
After layering the motherboard, power up the single upper motherboard. It is found that the current is still the same, which means that the short circuit is caused by the upper layer. Usually, the main power supply is short-circuited like this, there is usually a hot spot. But this one is weird, we couldn't feel anywhere is hot. And now we look under a microscope, the whole motherboard didn't show any burn out.
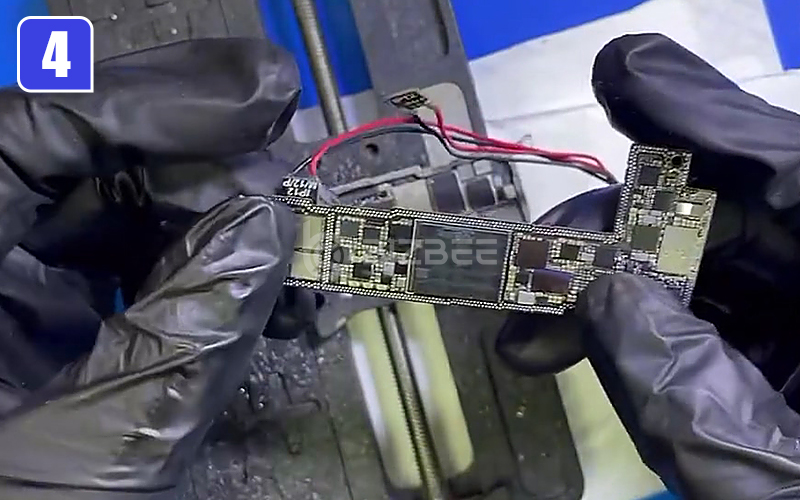
Step 5: Inspect the charging IC
So we can only use our maintenance experience and the principle of charging to judge the fault. Since it does not turn on due to charging, the possibility of charging IC burnout is the greatest. Because when charging, the entire current is processed by the charging IC. After boosting, it is converted to the battery. As predicted, the bottom corner of this charging IC has been burnt black. The burnt out line is just the 5V power supply of the charging port flex that is directly connected to the charging IC.
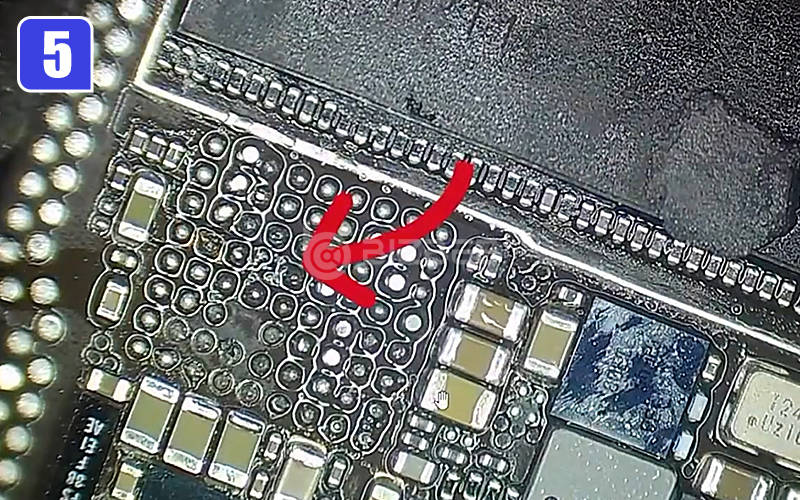
Step 6: Clean up the bottom board
Now we'll clean up the bottom board. After cleaning up the bottom board, the motherboard is no longer short-circuited. It indicates that the board layer didn’t burn out, just the charging IC burned out. And we measure this burnt line, no disconnects were found. It's just that the paint on the pad is a little off, and there are some solder pads burned out.
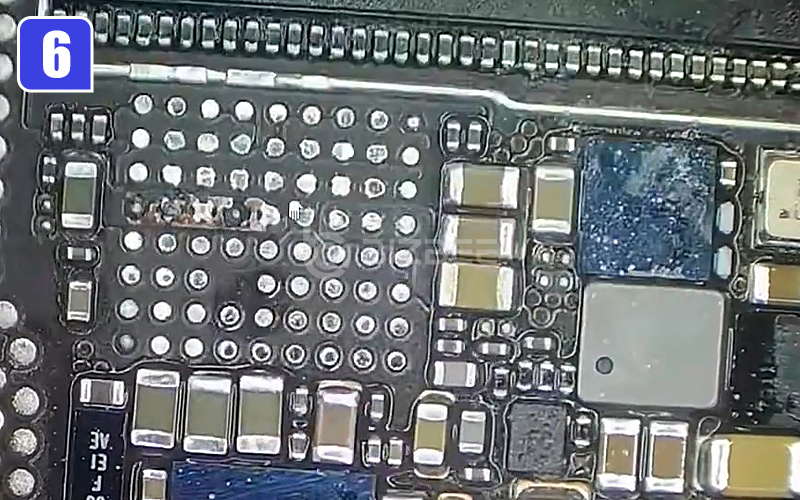
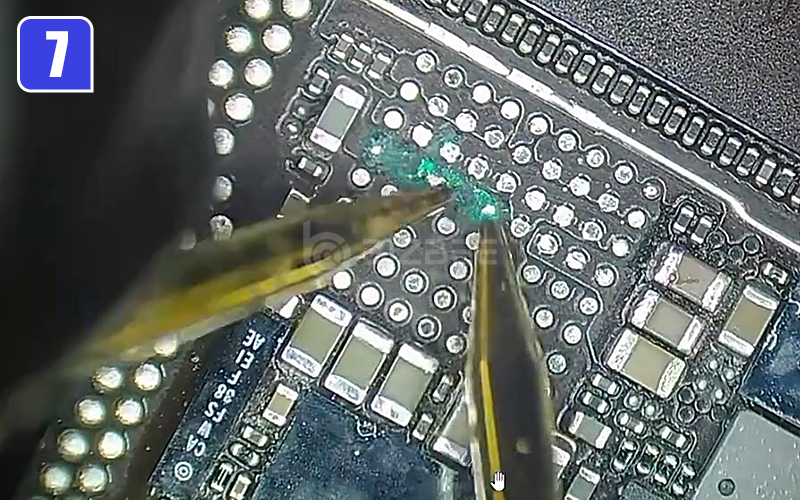
Step 7: Use green oil to insulate the broken area
This burnt line has a total of 5 solder joints are the same, so it doesn't matter if a solder joint or two are missing. Next we just need to use green oil to insulate the broken area and scrape the solder joints out.
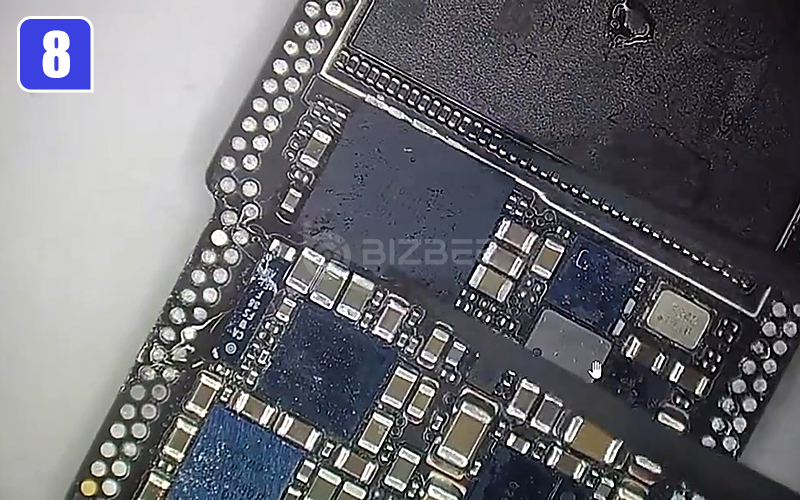
Step 8: Install a new charging IC
After dealing with the pad and confirm the circuit, we'll install a new charging IC. After installing the new charging IC back, the motherboard has returned to normal and there is no short circuit.
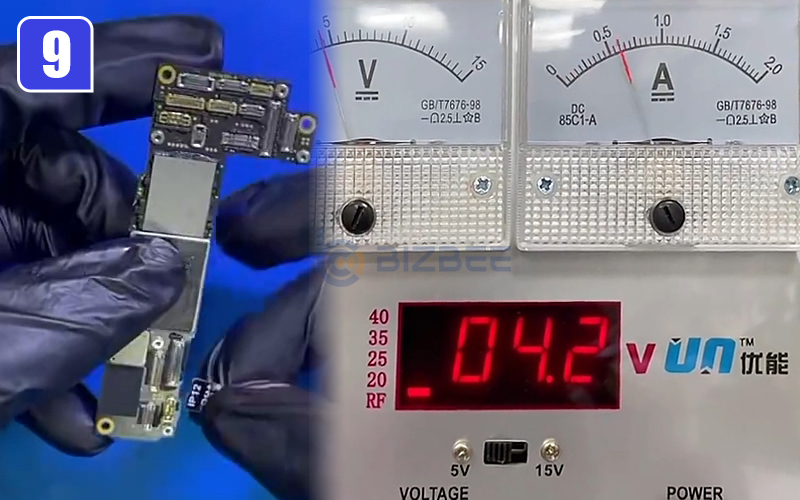
Step 9: Power up the motherboard again
Then power up the motherboard again, it is no longer leaking. Press the power button, there is also normal start-up current. Fortunately, the motherboard did not cause serious failure. It's just that the charging IC was burnt out.
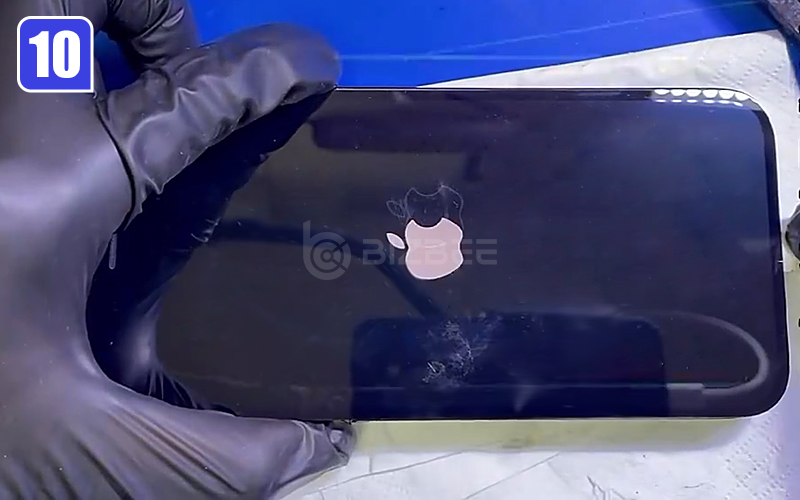
Step 10: Reinstall the phone and test
Now let's deal with the tin in the middle board. Put the motherboard back on and clean the motherboard again. Then beautify the motherboard with new stickers and put the motherboard back on the bottom case. At last, the phone can be turned on and charging successfully. The charging current is also very stable.
