


PRODUCT CATEGORY


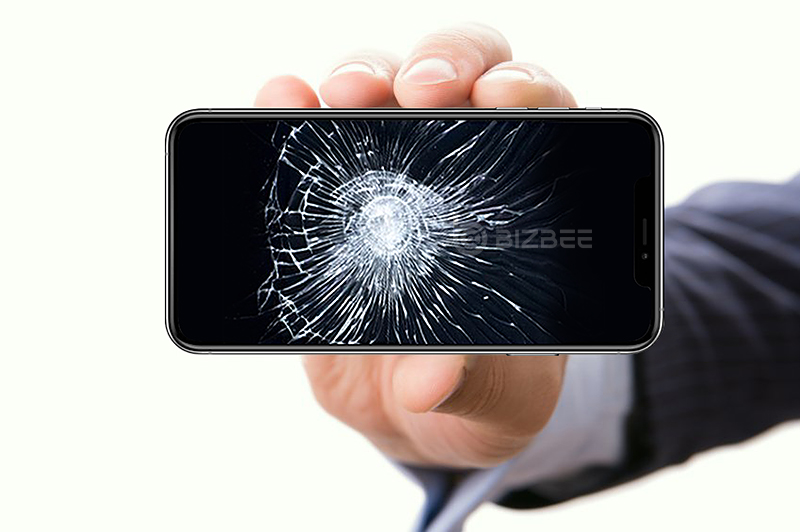
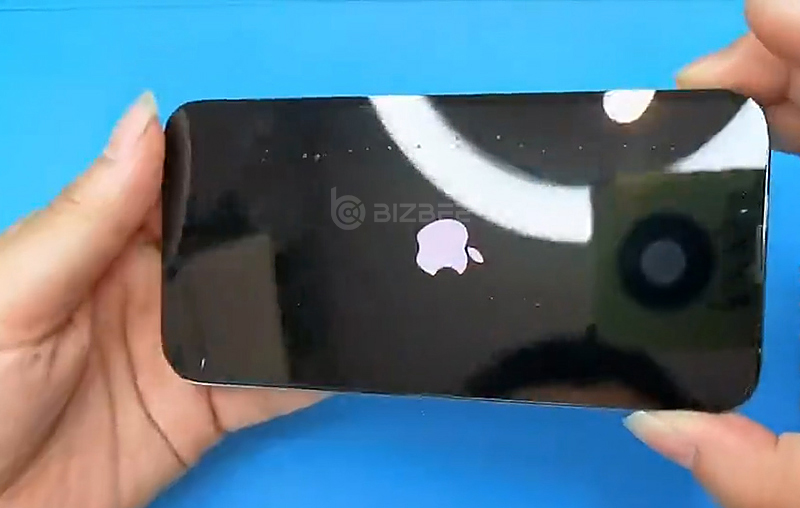
Generally speaking, a smartphone with an external glass is easily broken once it is hit by an external force or accidentally dropped. However, if your phone’s front glass is broken but the display and touch functions of the screen are still good, then you only need to replace the front glass. The operation process is very simple. Follow our iPhone 13 Pro front glass replacement tutorial, if your iPhone’s glass is damaged, you can easily replace it yourself.
Video Overview:
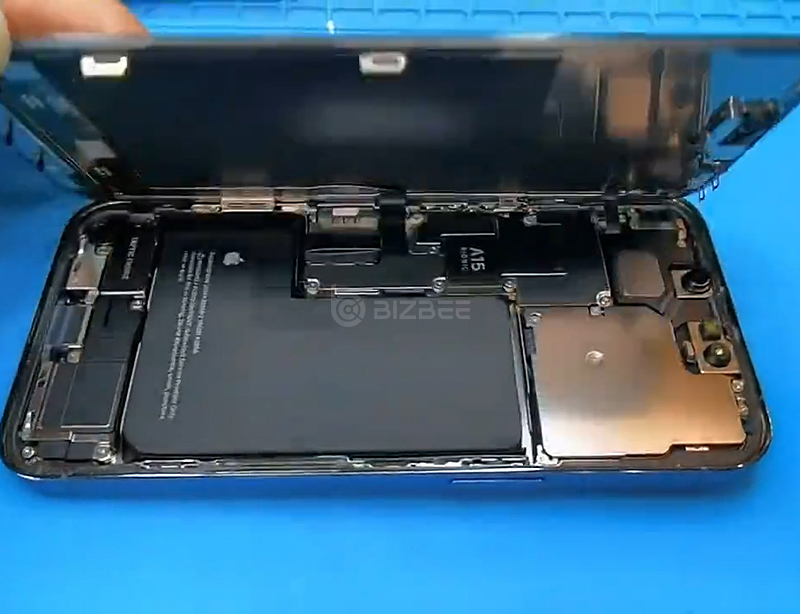
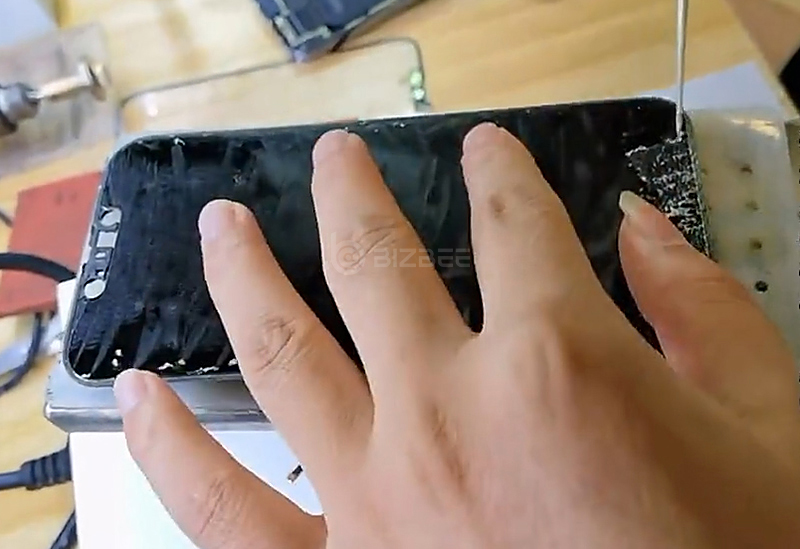
Step 1: Open the screen
First open the screen of this iPhone 13 Pro. We can see that there is a sign of A15 on the left of the motherboard. Let's remove the screws and the screen. Then remove the photosensitive flex cable on the screen.
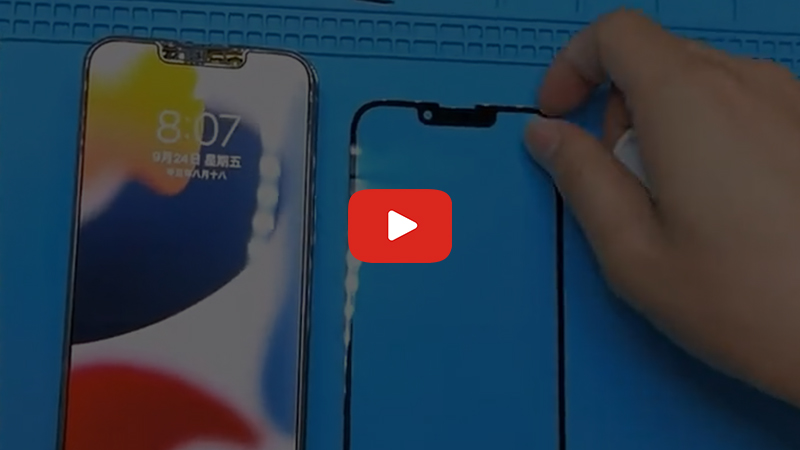
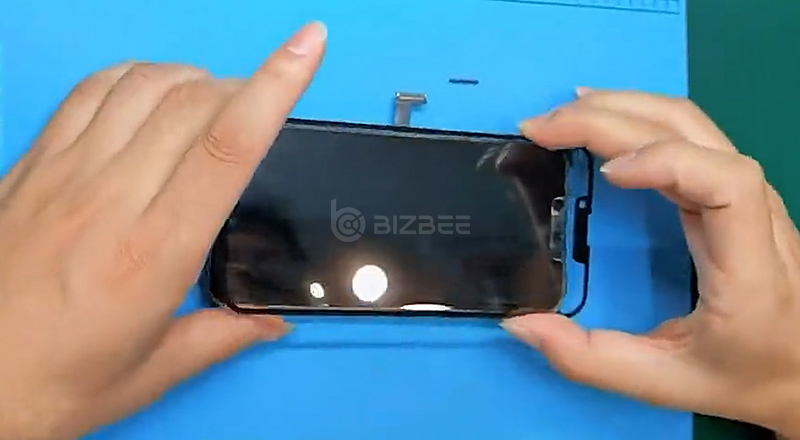
Step 2: Separate the front glass and LCD
Next, we can start to separate the front glass and LCD, and separate them with the bracket all the way. Press down with steel wire to form a triangle, start to separate.
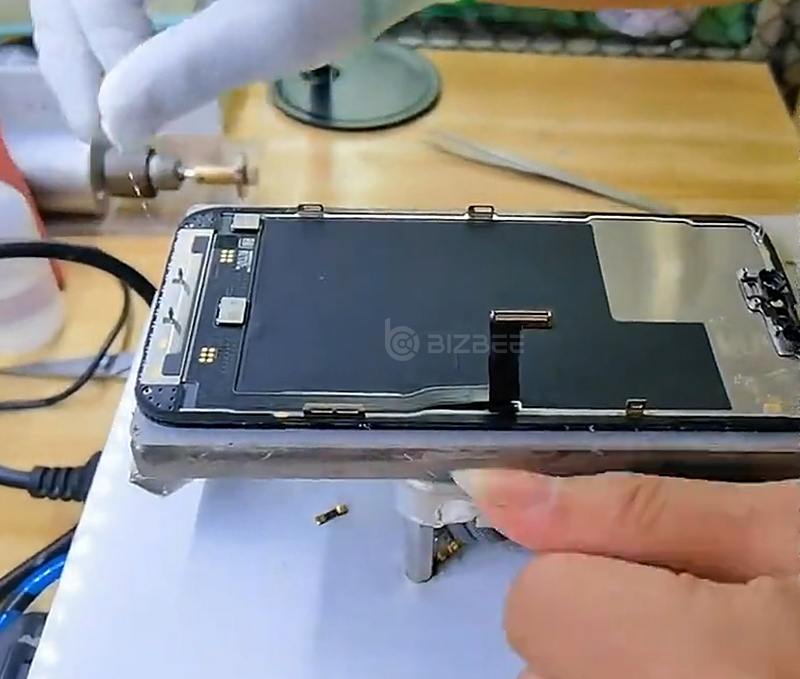
Step 3: Clean up the residual glue
After separation and LCD removal, we can see a little residual glue on the LCD and front glass. So we need to use the glue roll to clean up the residual glue. Let's be a little more careful because the screen of iPhone 13 pro is very thin.
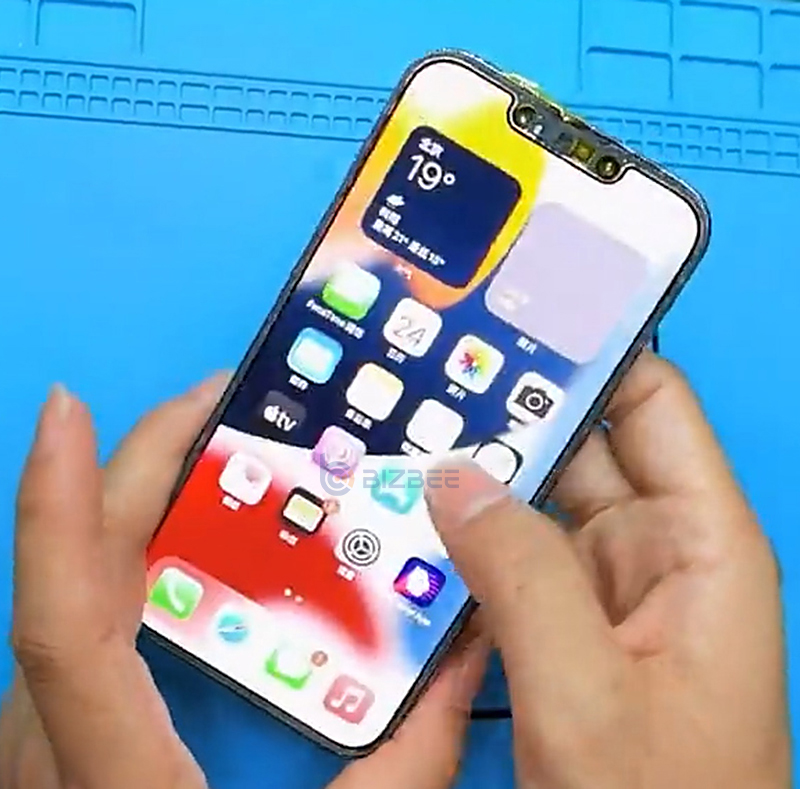
Step 4: Test the display and touch function
After cleaning the LCD and front glass, let’s test whether the display and touch function is normal. Now the mobile phone has no sense of installation. Induction flex cable and face ID are also available. After testing, the display and touch function is normal.
Step 5: Replace with a new front glass and laminate
Now we get a new front glass to fit the LCD. We need to align all sides. After alignment, we use a dedicated black pad, then put it into the laminating machine for lamination. Apply a layer of bracket glue before aligning the front glass. We use two layers of black pads when laminating, and the pressure is 1.5.
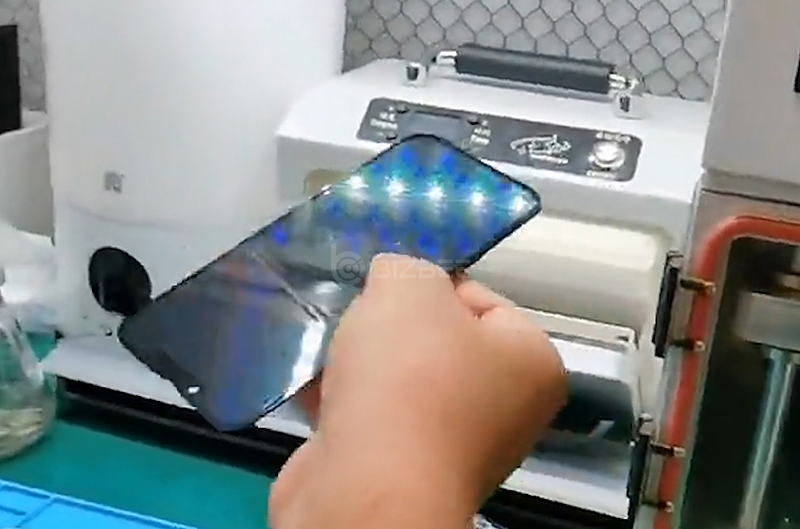
Step 6: Remove the bubbles
After laminating, we can see that there are almost no bubbles. But we still need to put it into the bubble remover machine for 3 minutes to make sure all bubbles are removed.
Step 7: Install the screen and test
After bubble removing, first install the induction flex cable on the screen. Then install the screen and all the screws at once. Tear off the yellow protective sticker. Last install the screen on the phone and power on for testing. It can boot successfully.


 iPhone Cases
 Samsung Phone Cases
 Xiaomi Phone Cases
 OPPO Phone Cases
 VIVO Phone Cases
 Transsion Infinity Phone Cases
 iPad Cases & Covers
 Galaxy Tab Cases & Covers
 Matepad Cases & Covers
 Mipad Cases & Covers
 Lenovo Tab Cases & Covers
 Honor Tablets Cases & Covers
 AirPods Cases
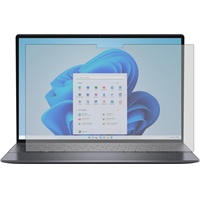
 Laptop Bags & Cases
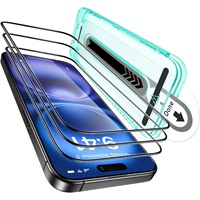 iPhone Screen Protectors
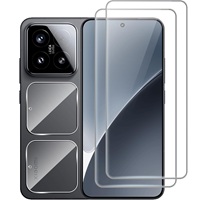
 Samsung Screen Protectors
 Xiaomi Screen Protectors
 OPPO Screen Protectors
 VIVO Screen Protectors
 Other Screen Protectors
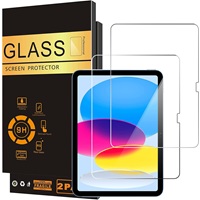 iPad Screen Protectors
 Galaxy Tab Screen Protectors
 Matepad Screen Protectors
 Mipad Screen Protectors
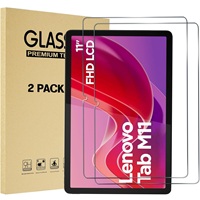 Lenovo Tab Screen Protectors
 Other Tabets Screen Protectors
 Macbook Screen Protectors
 Other Laptops Screen Protectors
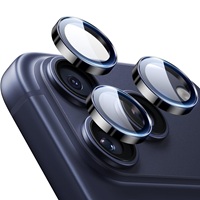 Lens Protectors
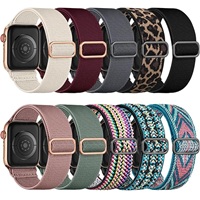 Apple Watch Bands
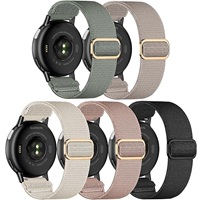
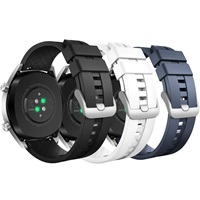
 Samsung Galaxy Watch Bands
 Mi Watch Bands
 Garmin Bands
 Amazfit Bands
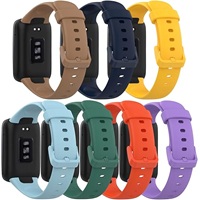
 Fitbit Bands
 Huawei Watch Bands
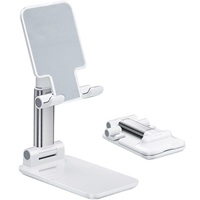 Desktop Phone Stands
 Car Phone Holders
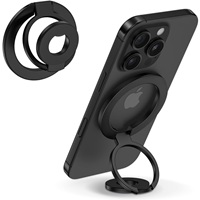 Phone Rings Kickstands


