


PRODUCT CATEGORY


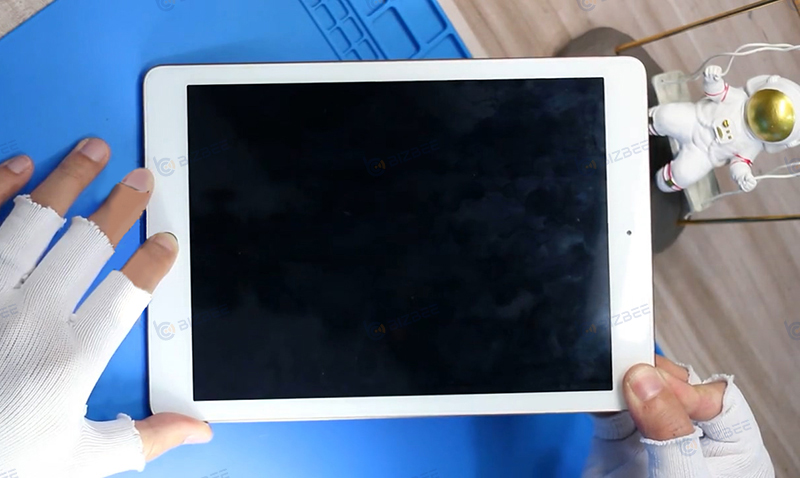
We got a damaged iPad released in 2017. The malfunction of this iPad is that it can’t turn on when charging, though the charger is original. This is a common problem with iPad. We can basically guess where the fault is without disassembling it. Of course, it does not rule out whether it entered the state of crash. If we normally encounter the situation that the screen of the mobile phone or tablet suddenly goes black, the following method is very practical.
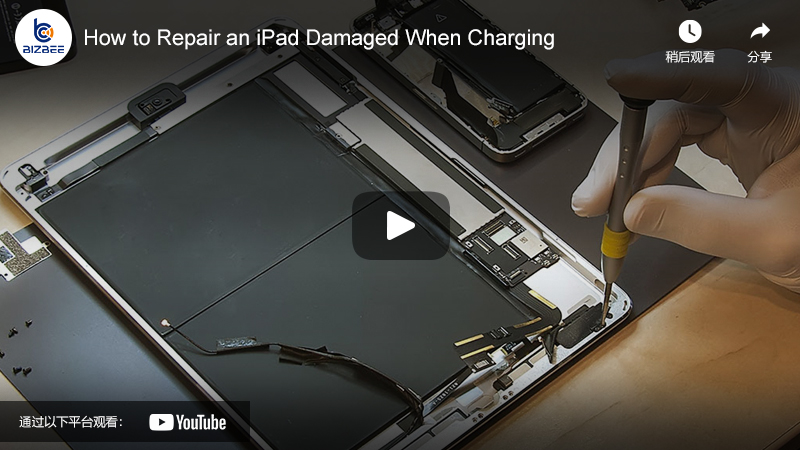
Watch the video:
Step 1:Check if the iPad Crashed
If there is a rear HOME button on your tablet, press the HOME button and the power button at the same time for about one minute. If the tablet crashed, something should show on the screen whether it’s a phone or tablet. But we pressed for a minute, the iPad doesn't respond at all, which means there must be an internal fault.
Step 2:Disassemble the iPad
Now we need to disassemble the iPad. First put the iPad on the heating station for heating. Though the tablet is much bigger than a mobile phone, in fact, it is much easier to repair a tablet than to repair a mobile phone. And for charging damaged tablets, it is also a very common fault on tablet in our daily maintenance.
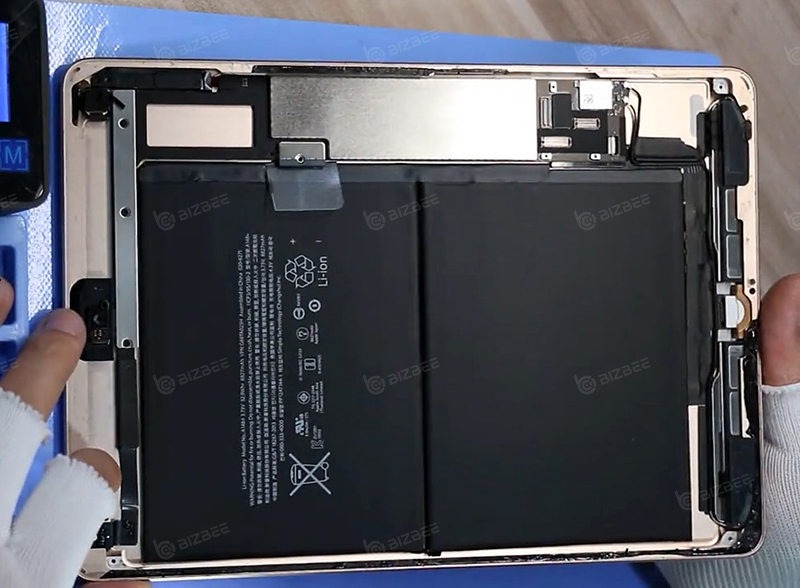
Next, let's use the pry blade to pry around the tablet. Add an appropriate amount of alcohol into it, because alcohol can separate the double-sided adhesive inside the screen very well. When we're prying, we must pay attention to the position of the flex cable, which cannot slide, or you'll cause damage to it. After finishing the above steps, use the pry tool again to the separate tablet. Then the screen can be pulled out gently. The touch screen and display screen are separated of this iPad. After opening the touch screen, we need to unscrew the four corners of the display and then remove the display. Then overlap the removed display and touch screen, otherwise, it is easy to get into the dust.
Step 3:Find the Position of the Internal Fault
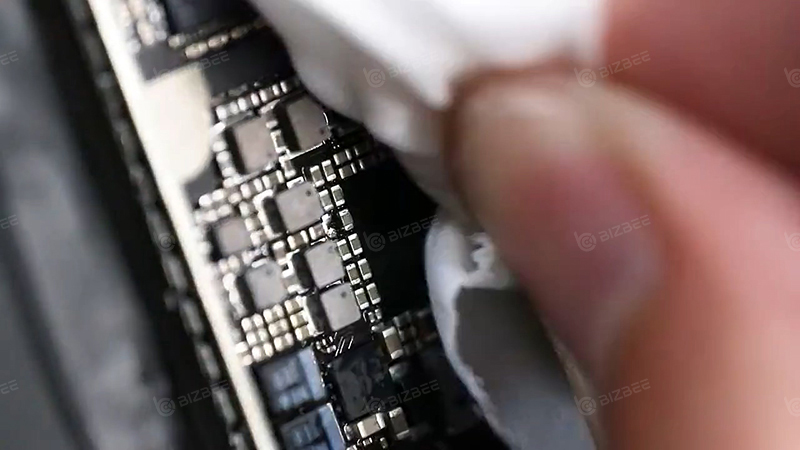
After removing the display, our focus goes back to the motherboard. The motherboard is very large. If you want to remove the motherboard for repairing, almost all the parts in here have to be removed. So we do not need to detach the motherboard when repairing the motherboard of an iPad. At this time, we need to separate the motherboard from the battery and separate the motherboard from the back cover. Pry off the protective iron sheet; we can see the chip inside the motherboard.
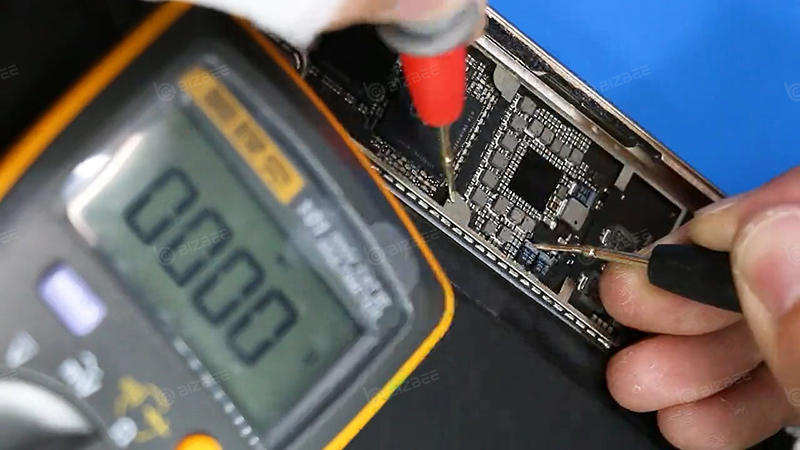
Let's check the path on the positive pole of the motherboard battery first. After finding the positive path, measure to see if it is normal. The value shows more than 400, which means the first path of the positive pole is normal. Let's power it up and see the current. At the moment of power-on, the ammeter directly rushes to the maximum value. But we measured the positive power supply of the first circuit and the value is normal. We just have to keep looking for the positive power supply of the second circuit. Sure enough, there is a grounding fault in the second positive charging. Let's first power up the second circuit directly. Place the iPad under the thermal imaging. Power on the motherboard directly. In the case of a short circuit on the motherboard. We can see there is a short-circuit heating induction at the power supply. It means that we have found the approximate fault point.
In order to accurately find the fault point, we first sprinkle rosin smoke around the power supply, and power on the motherboard again. But in the short circuit state, there is no reaction in the hot place. According to the correct operation, it must be hot and atomized. This is the power problem of the tablet. If it is not very hot, capacitors can't be atomized at all. But we clearly see the location of the power supply is hot. It is very obvious that a capacitor has burned black when we remove the atomization. So this might be the hot spot.
Step 4:Repair the Fault
Now we just need to remove the burned capacitor and clean up the pin spot. Then measure the value of the second circuit again. We can see the value has recovered to more than 100. Power on the motherboard again, and there is no short circuit on the motherboard. Press the power button, turn-on current also returned to normal. It means the fault repair of the short circuit was successful. Because the damaged capacitor is filter protection, we don't need to install it back. Finally, reinstall it back to the host, thus this iPad 2017 damaged while charging was repaired successfully.
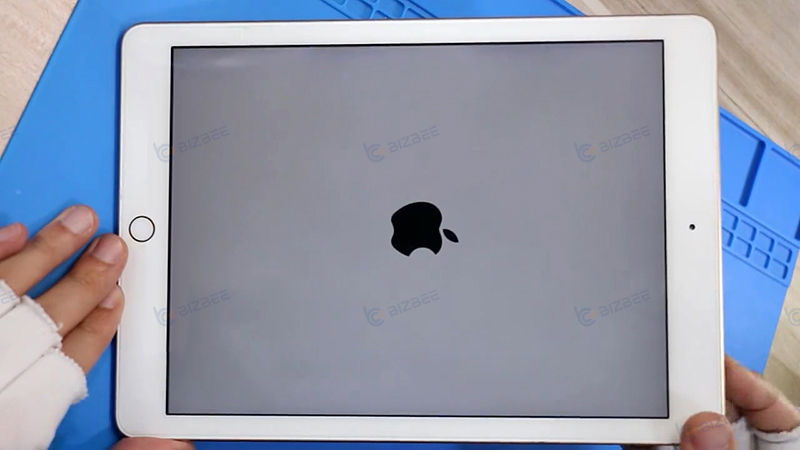
Step 5:Install the iPad and Test
Now let's install the iPad. The iPad can be successfully powered on. Test other functions which are also normal. Test charging and no problem. It's a little surprising because the power of the iPad is 100%. So the iPad is fully charged, but can’t turn on. And this kind of short circuit problem is the most common failures on whether an old or new iPad. If your tablet suddenly won't turn on, there is a high probability of a short circuit.
In fact, this short-circuit fault is also the most common fault in the tablet. There are many old and new models that cause short circuit and capacitor burning. Although the original charger is used for charging, it still leads to short circuit damage to the main board, let alone an ordinary charger. The main reason for the damage is the voltage stabilizing problem of voltage transmission. During long-term charging, voltage instability will easily lead to short circuit of the internal power supply capacitor. So when we need to charge the tablet, try to choose the original charger. After it is fully charged, don't let the tablet plug in the charger all the time.


 iPhone Cases
 Samsung Phone Cases
 Xiaomi Phone Cases
 OPPO Phone Cases
 VIVO Phone Cases
 Transsion Infinity Phone Cases
 iPad Cases & Covers
 Galaxy Tab Cases & Covers
 Matepad Cases & Covers
 Mipad Cases & Covers
 Lenovo Tab Cases & Covers
 Honor Tablets Cases & Covers
 AirPods Cases
 Laptop Bags & Cases
 iPhone Screen Protectors
 Samsung Screen Protectors
 Xiaomi Screen Protectors
 OPPO Screen Protectors
 VIVO Screen Protectors
 Other Screen Protectors
 iPad Screen Protectors
 Galaxy Tab Screen Protectors
 Matepad Screen Protectors
 Mipad Screen Protectors
 Lenovo Tab Screen Protectors
 Other Tabets Screen Protectors
 Macbook Screen Protectors
 Other Laptops Screen Protectors
 Lens Protectors
 Apple Watch Bands
 Samsung Galaxy Watch Bands
 Mi Watch Bands
 Garmin Bands
 Amazfit Bands
 Fitbit Bands
 Huawei Watch Bands
 Desktop Phone Stands
 Car Phone Holders
 Phone Rings Kickstands