


PRODUCT CATEGORY


Face ID is a face recognition technology designed by Apple for its full-screen mobile phones (iPhone X and above) to replace the Touch ID function of the original models. But face ID is easy to be damaged for some reasons, such as falling, water ingress or improper operation during maintenance. Today we are fixing the face ID of an iPhone 13 Pro Max due to water ingress.
Watch the video:
Step 1: Check the fault forms
Before we fix it, let's take a look at its fault forms. Click the settings and start using the face ID. There is a prompt shows problem detected with TrueDepth camera. We try to enter again and found the face ID settings are greyed out. A TrueDepth issue is detected and Face ID is disabled. This time is not the same as the previous repairs. It’s more difficult. We can see the rear and front cameras are all normal after checking. It’s just the face ID can't be used.

Step 2: Disassemble the phone
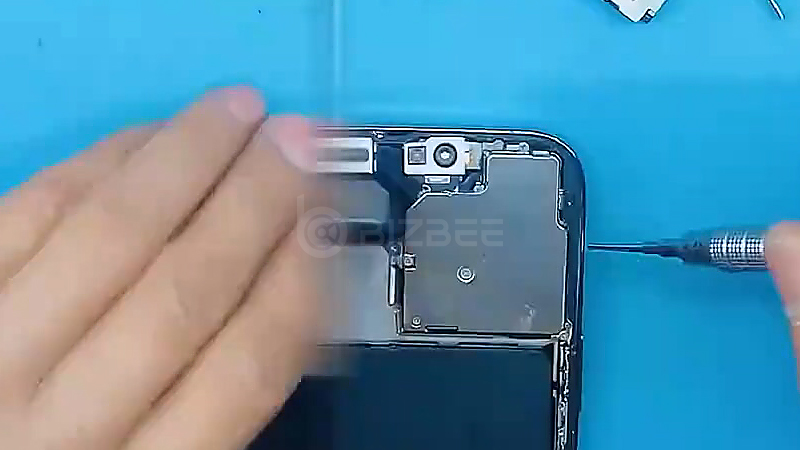
Next, we disassemble the phone for maintenance. We will definitely not destroy the original framework when fixing. We must drag the frame directly out to ensure its integrity. During the repair process, in order to avoid encounter board washing water, welding oil, rosin, we have to stick it up.
Remember, there is glue on the back panel to dissipate heat. First we need to remove the heat-dissipating glue. After the glue is removed, we dismantle the base. Just heat it up a bit. Then push up and find that the flex cable will get stuck. Push it down and this area will block it. So let's just get rid of that little, not too much. Now we can break it apart without heating it.
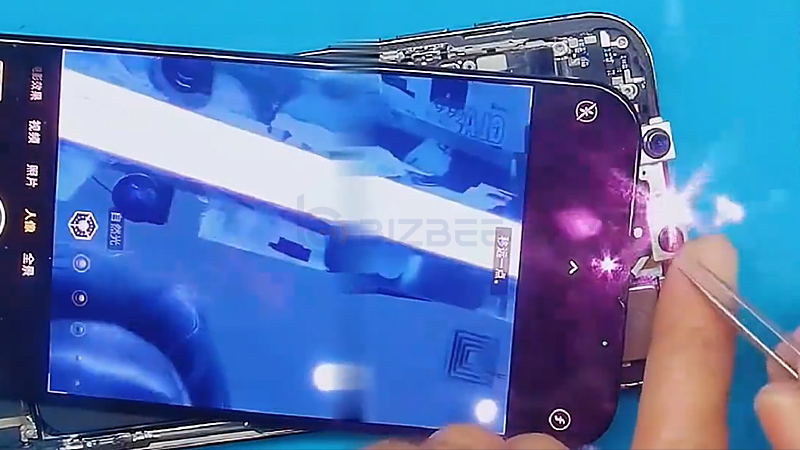
Then we must use the principle of leverage skillfully. When prying, the blade cannot go too deep, because there are chips inside. Be careful when taking it out. We can see infrared crystals have surpassed the height of this framework. So we have to be very careful when we take it out.
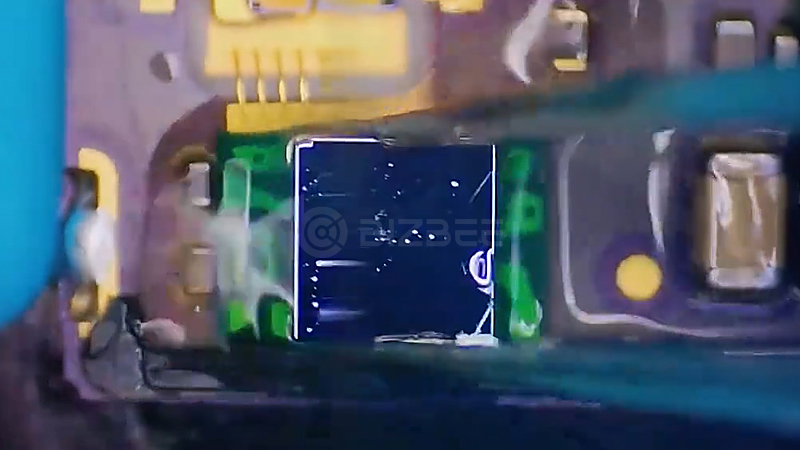
Step 3: Replace with a new chip
After taking it out, we can clearly see its structure. Upshift and light change, infrared is all integrated in this small area. We need to remove the original chip and install the adapter plate. The location needs to correspond. After matching, we can see a sign of 13 on it. Then clean up and install the new chip. The position of the chip also needs to correspond to the adapter board.
Step 4: Install the phone and test
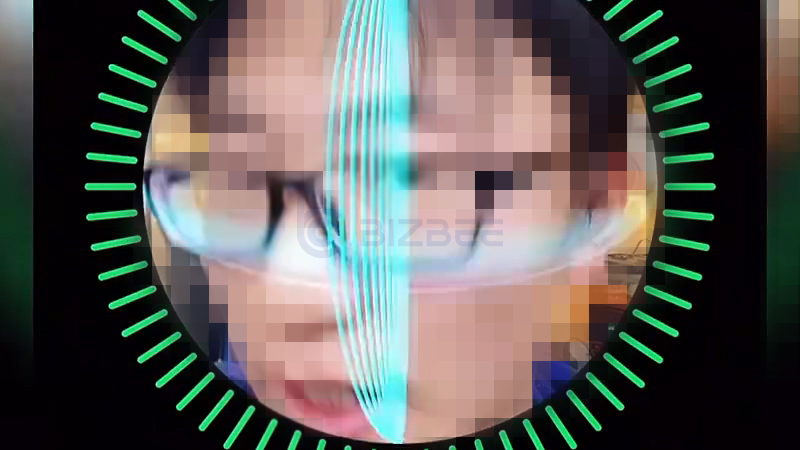
Now we turn on the front camera to test. It can start working through my modified video capture head and glowing. Then we can install the phone. It must be cleaned before installation. Backup and write operations are the same as other previous phones. Be careful with the frame. The height of the chip has exceeded the height where the bracket touches the frame. So we must be very gentle. After removing the heat-dissipating glue, we find that the interior is very empty now. It's easy to slide when fixing. There's a little tip: just take a useless or damaged size 11 blade and place it in the heat dissipation area and against it. The next step is to apply glue. When using glue, there's a little gap in these areas. If there is a lot of glue exposed in the middle, it will affect the imaging and affect the sensitivity of face ID entering. When using glue, be sure to use this kind of glue that won't turn white and fog to fix it. Use a small amount of glue when fixing.
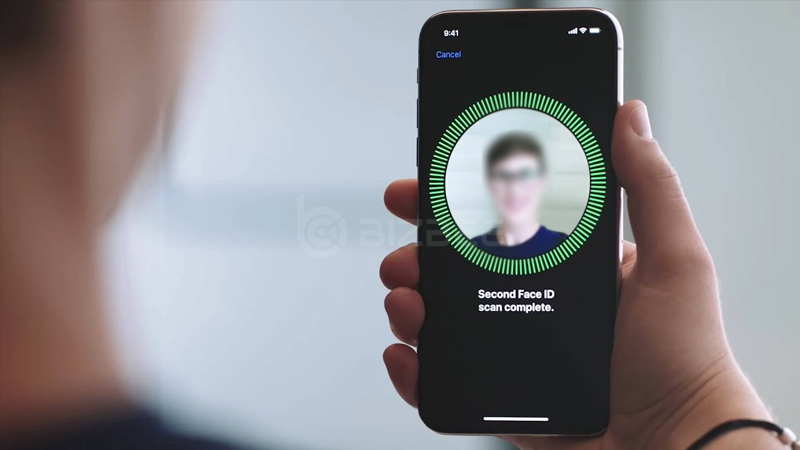
Next, we can start to test after simple fixation. First check the portrait mode of the camera, bokeh and natural light are all normal. Then click settings to face ID settings. At this time, when entering the face ID. There is still a prompt show face ID is not available. But it won't be the same as before, which It means the axis is still crooked. This axis is not as simple as I thought. It seems need to be parallel to the screen.
Step 5: Readjust and retest
After disassembling it again, I found that it looks flat. But there is one place has to be pushed a little further here. After gluing, the support point must be found before it can be moved. It's hard to move if you can't find the support point. Give a little heat to warm up the glue and move the bracket. Then turn on the front camera and the light can work. All conditions are met. Portrait mode and bokeh are all normal. After readjustment, we found that entering face ID becomes very easy. This iPhone 13 Pro Max face ID has been repaired successfully.


 iPhone Cases
 Samsung Phone Cases
 Xiaomi Phone Cases
 OPPO Phone Cases
 VIVO Phone Cases
 Transsion Infinity Phone Cases
 iPad Cases & Covers
 Galaxy Tab Cases & Covers
 Matepad Cases & Covers
 Mipad Cases & Covers
 Lenovo Tab Cases & Covers
 Honor Tablets Cases & Covers
 AirPods Cases
 Laptop Bags & Cases
 iPhone Screen Protectors
 Samsung Screen Protectors
 Xiaomi Screen Protectors
 OPPO Screen Protectors
 VIVO Screen Protectors
 Other Screen Protectors
 iPad Screen Protectors
 Galaxy Tab Screen Protectors
 Matepad Screen Protectors
 Mipad Screen Protectors
 Lenovo Tab Screen Protectors
 Other Tabets Screen Protectors
 Macbook Screen Protectors
 Other Laptops Screen Protectors
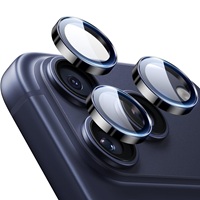 Lens Protectors
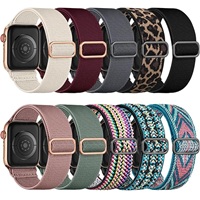 Apple Watch Bands
 Samsung Galaxy Watch Bands
 Mi Watch Bands
 Garmin Bands
 Amazfit Bands
 Fitbit Bands
 Huawei Watch Bands
 Desktop Phone Stands
 Car Phone Holders
 Phone Rings Kickstands


